


Learn how to use a free Unity Editor script to automatically assign Substance Painter PBR Textures to URP Lit Materials using the Metallic workflow.
Video Transcript
Hello everyone! If, like me, you create and export PBR Textures for Unity using Substance Painter or Adobe 3D Painter, and you use Painter's standard naming convention for URP Textures, you may find the script presented in this tutorial useful. It automatically assigns Textures to URP Metallic Materials in Unity.
Before we continue, I want to point out that this script is designed for a very specific workflow, which I have been using for a long time. It is not suitable for Texture naming conventions or Shaders other than the ones I will describe here.
When creating my Assets, I model them in Blender and export them as FBX files. Next, I create the Textures in Substance Painter, or Adobe 3D Painter if you prefer. I export the Textures from Painter and then assign the images to the Materials in Unity. My Texture files always follow the same naming convention, consisting of three parts separated by underscores.
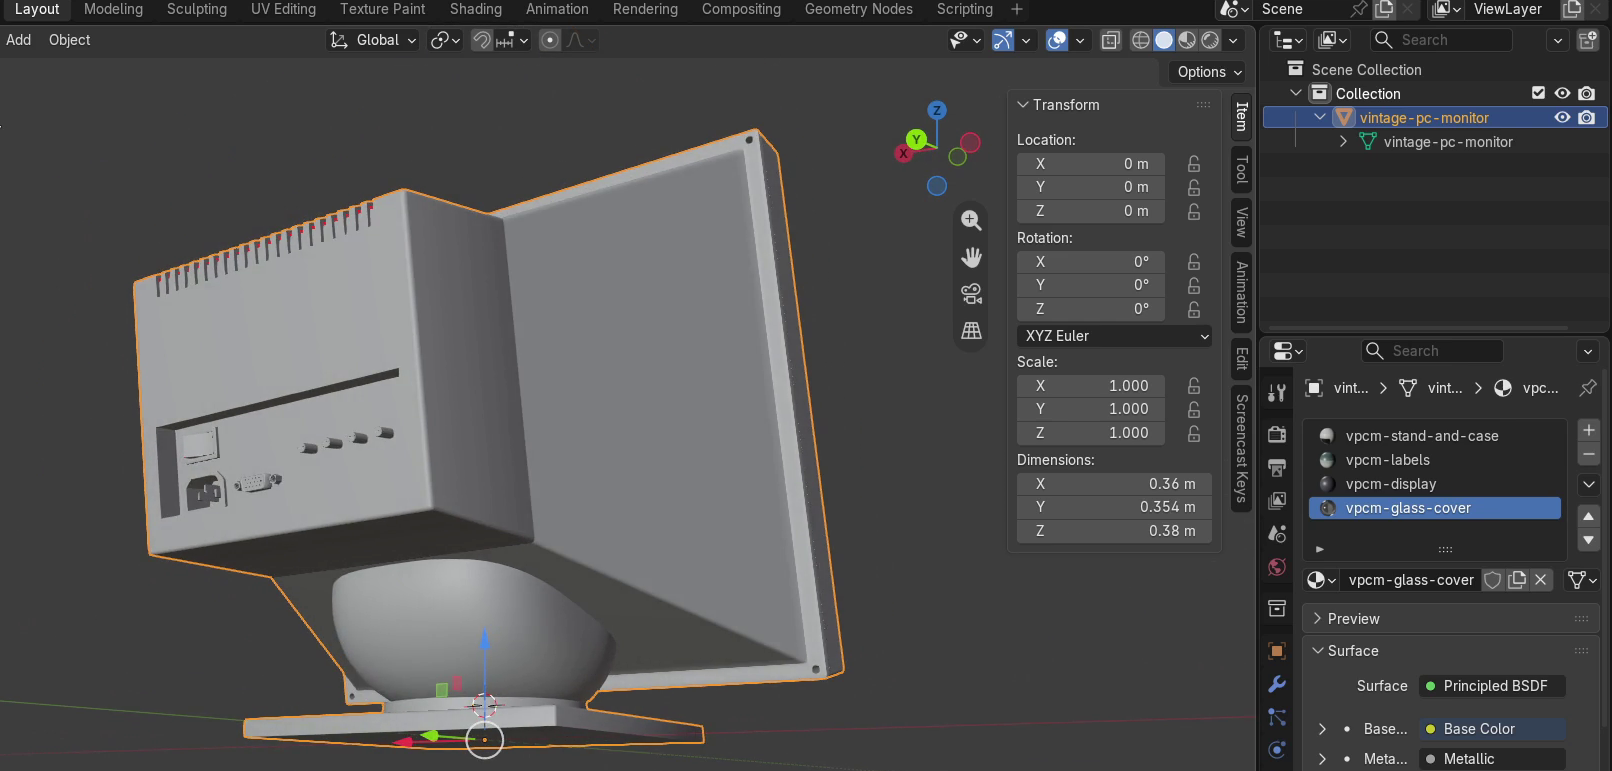
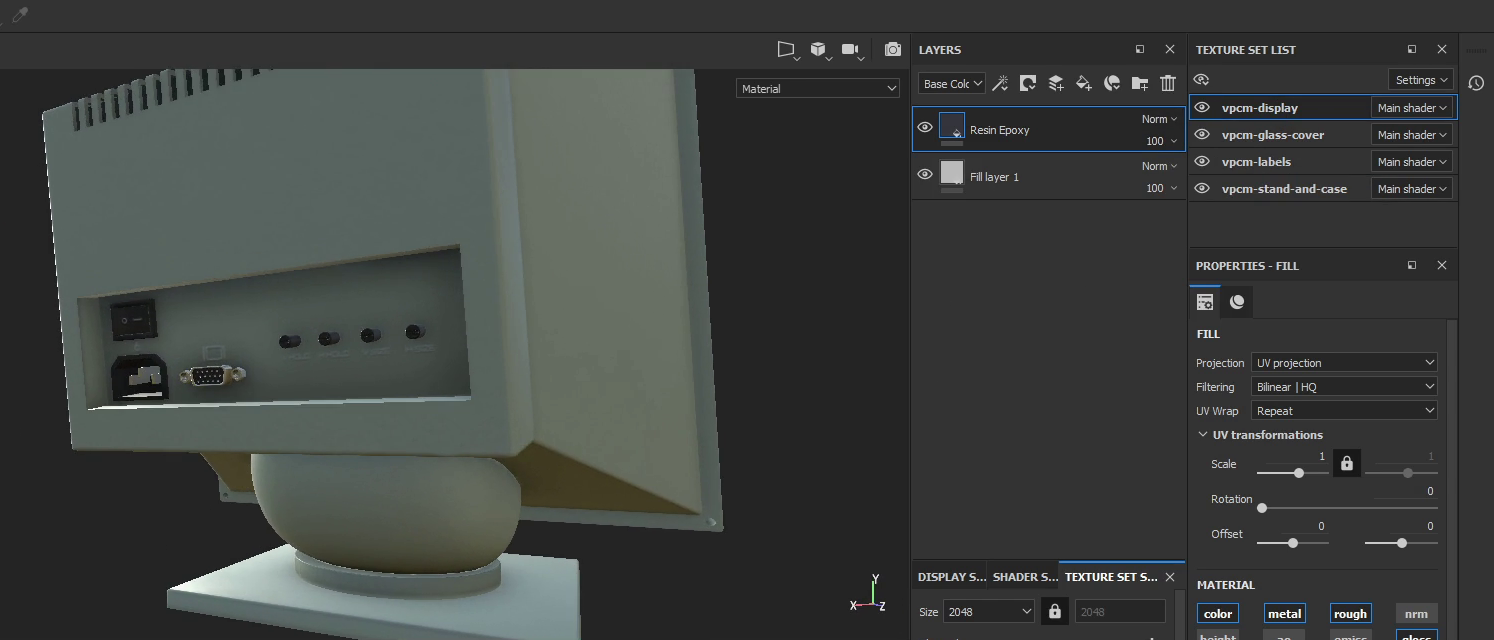
More specifically, the first part of the filename is the mesh name, which is not particularly important for our purposes. The second part is the Texture Set name, which must match the name of the corresponding Material in the FBX file. This is usually the case because I define the Material in Blender, and Substance Painter uses the same name for its Texture Set. The third part of the filename identifies the channel associated with the Texture. It can only be AlbedoTransparency, MetallicSmoothness, Normal, or Emission.
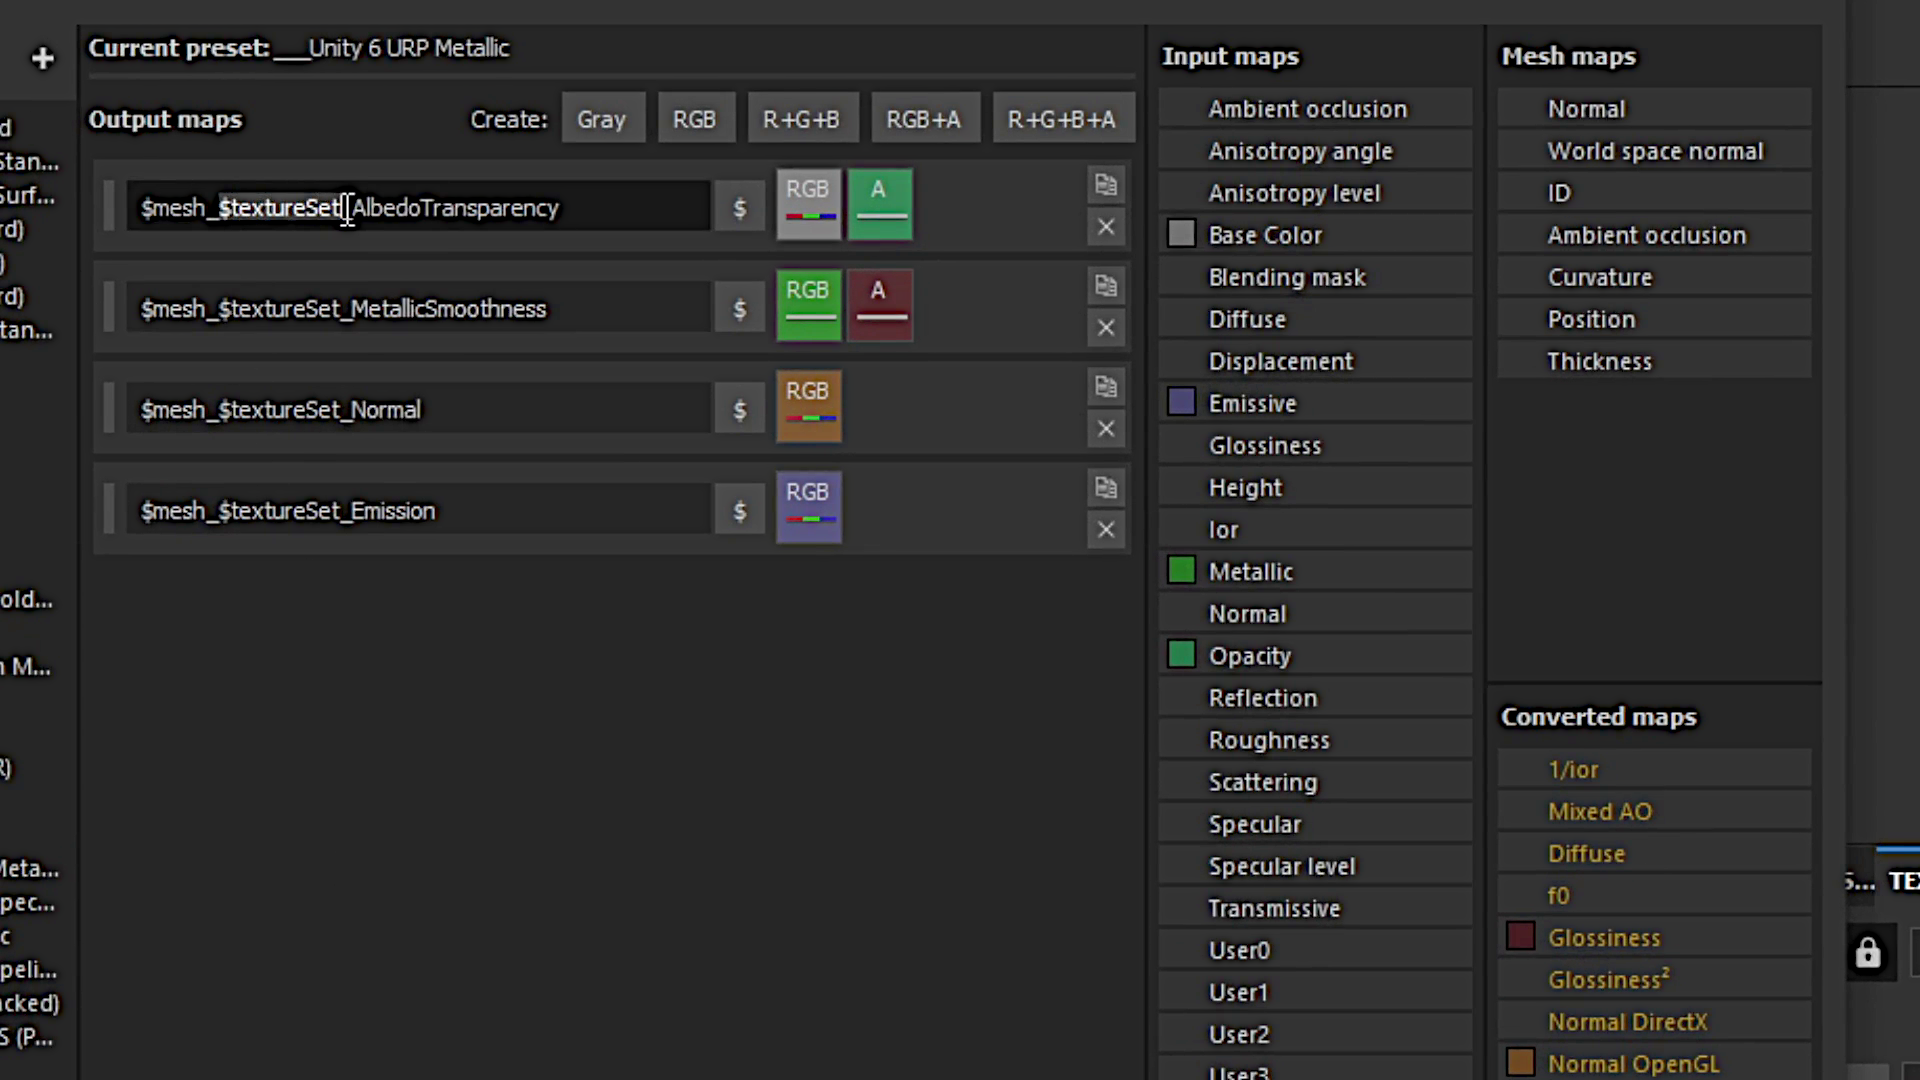
I always use the URP Lit shader with the Metallic workflow. The script presented here only works with this Shader and the basic set of four Textures per Material that I just described.
To install the script in Unity, simply drag the script file into the Project window, for example into an Editor subfolder inside Assets, just to keep everything organized. Once Unity automatically compiles the script, a new entry will appear in the Tools menu at the top of the Editor.

Now, let's take a look at the workflow I follow for each Asset. First, I drag the FBX file into the Project window, inside a subfolder of Assets. In the Inspector, after enabling Bake Axis Conversion and adjusting any other necessary settings, I open the Materials tab and extract the Materials from the FBX file.
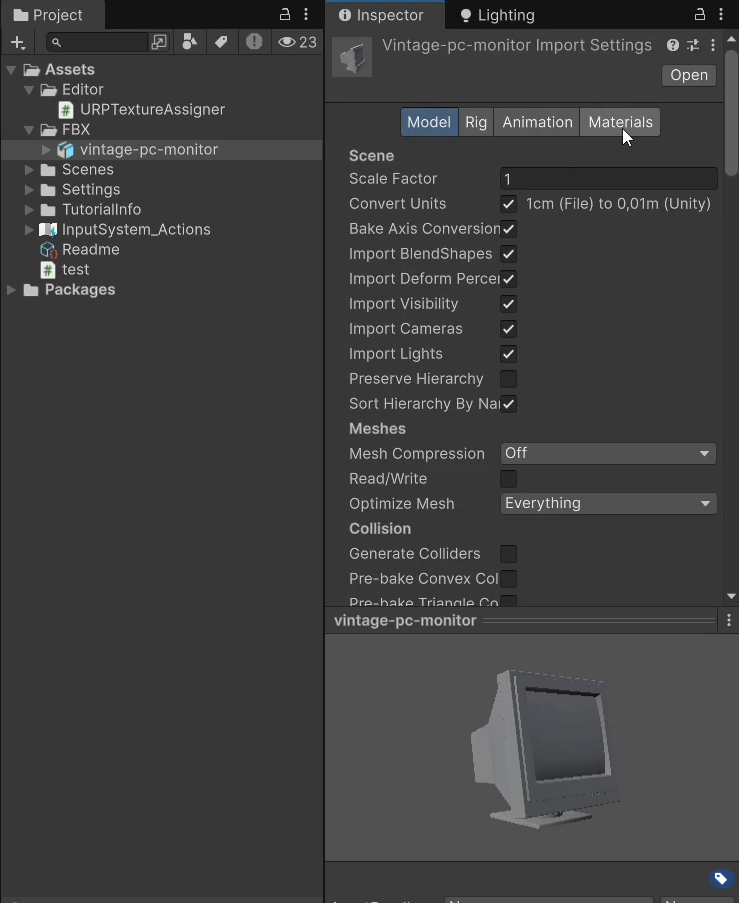
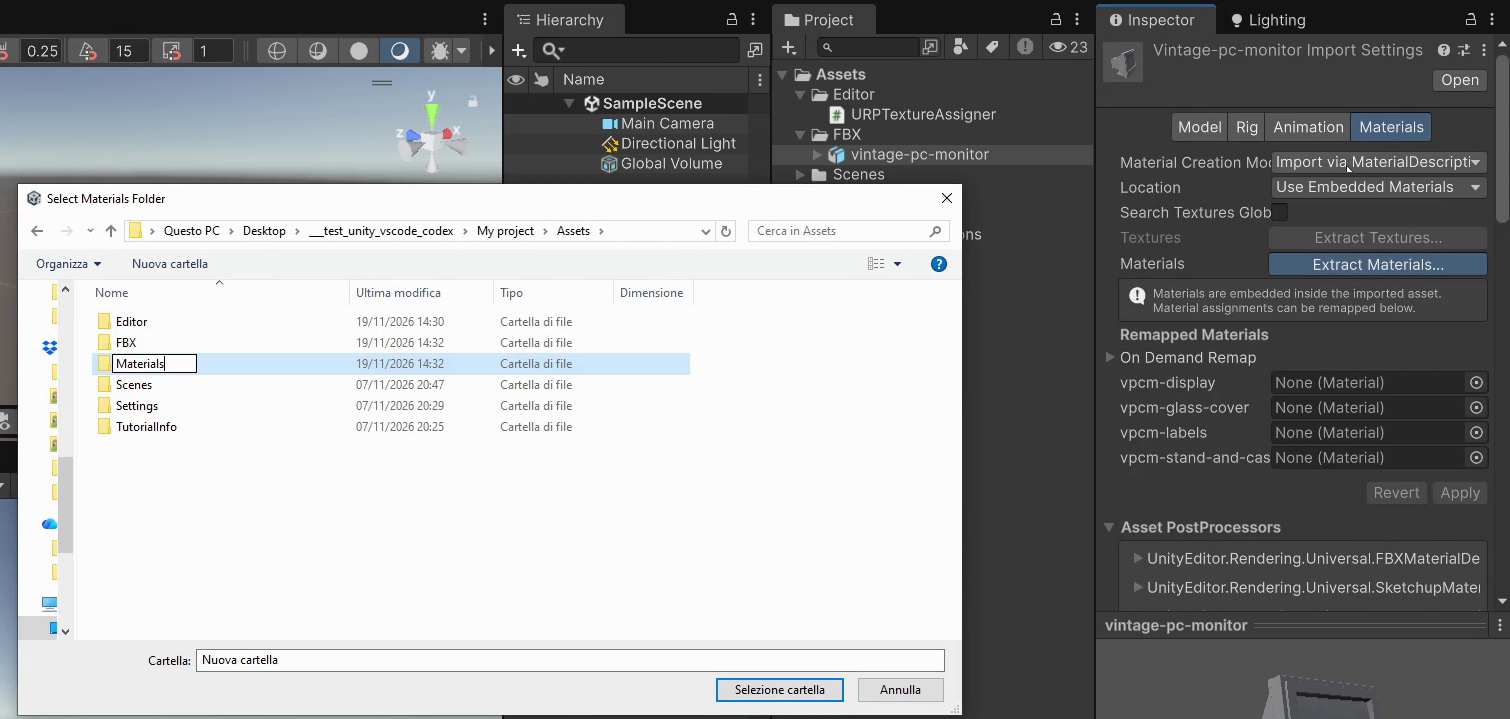
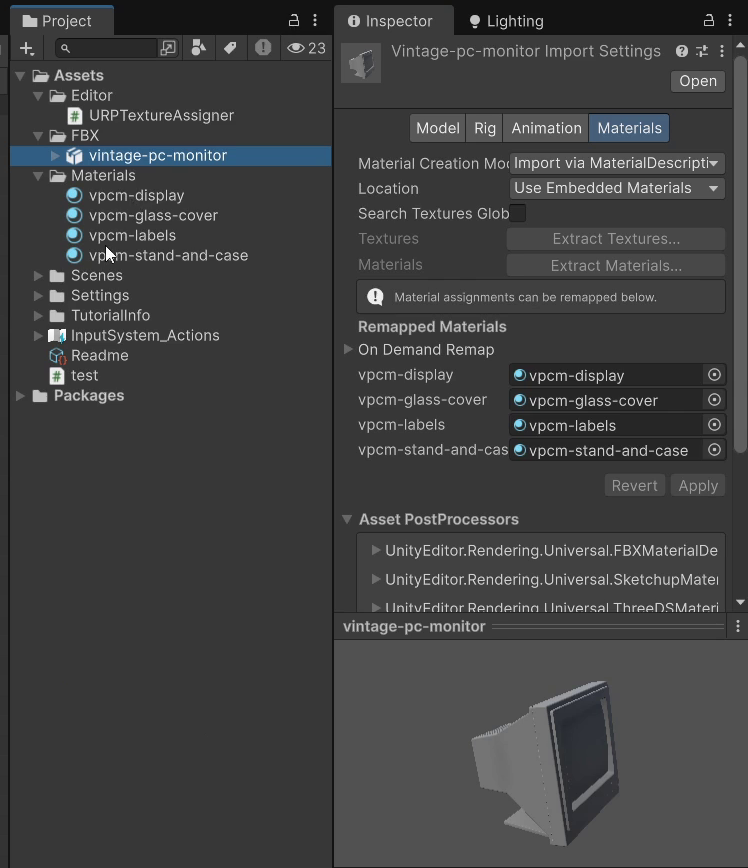
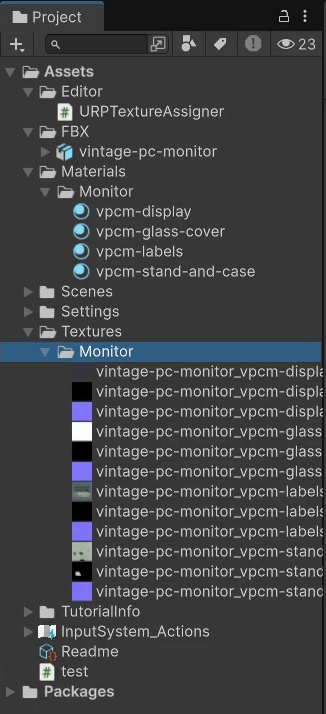
I also need to point out an important detail about the Materials and Textures folders. The script searches for Materials and Textures in folders and subfolders inside Assets, and those folders must have exactly these names: Materials and Textures. As I warned you, the script is not flexible at all! It was designed specifically for my workflow. I hope you can still find it useful, and of course, you are free to modify it to suit your own needs!
Next, I create a folder called Textures and place the images exported from Substance Painter inside it. I can store the Texture files directly in this folder or organize them into subfolders, depending on my needs.
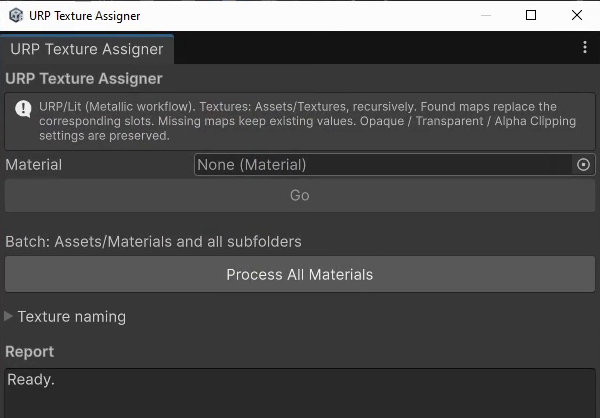
Now, all I need to do is launch the new tool from the Tools menu. As you can see, I can assign Textures to a single Material, specified in the corresponding field, or to all the Materials in the project. In this case, I have four new Materials, and they are also the only Materials in the project, so I can simply click Process All Materials and check the result.
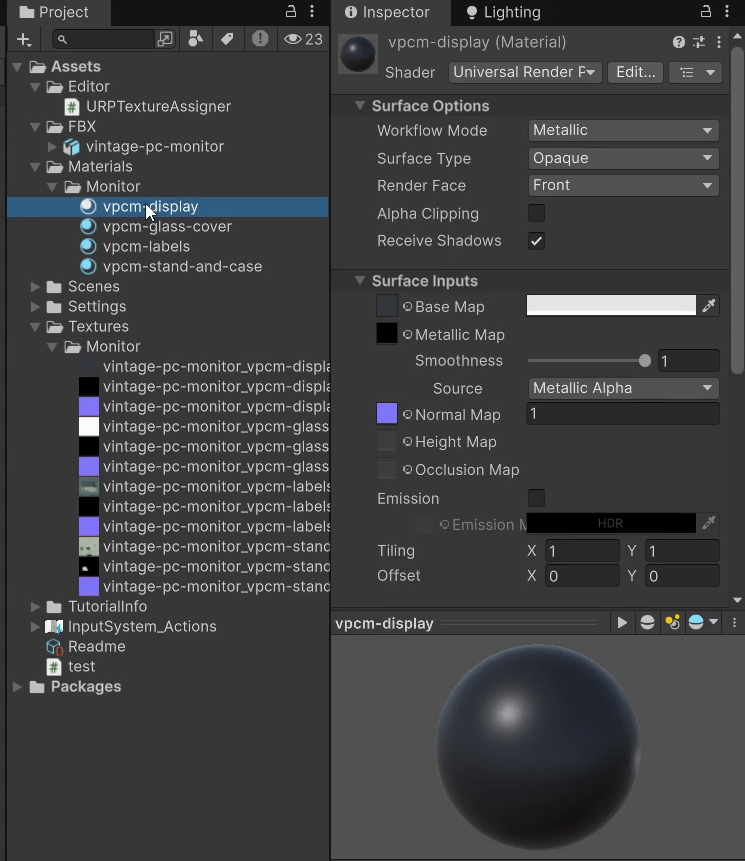
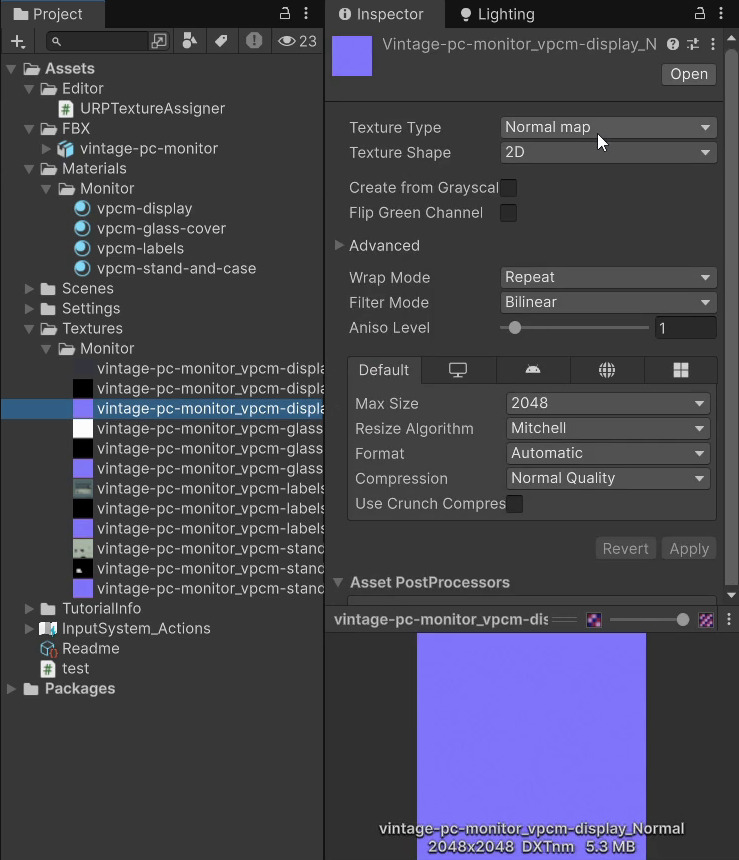
As you may have noticed, when I imported the Texture images into the project, I did not change the Texture Type for the Normal Maps. I did this on purpose to show you that the script automatically performs this operation whenever an image with the Normal suffix has not been imported as a Normal Map.
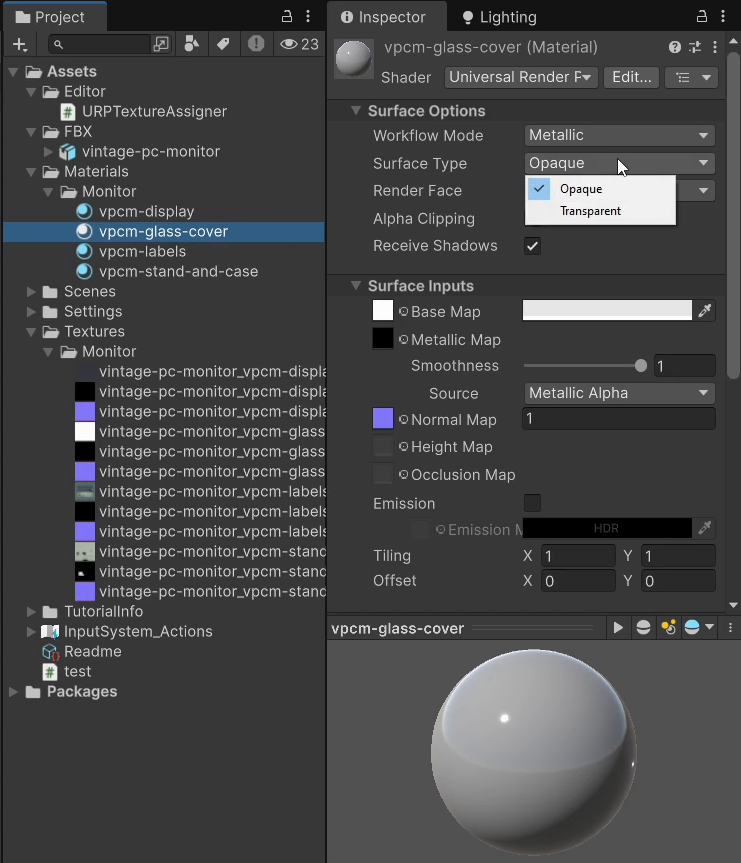
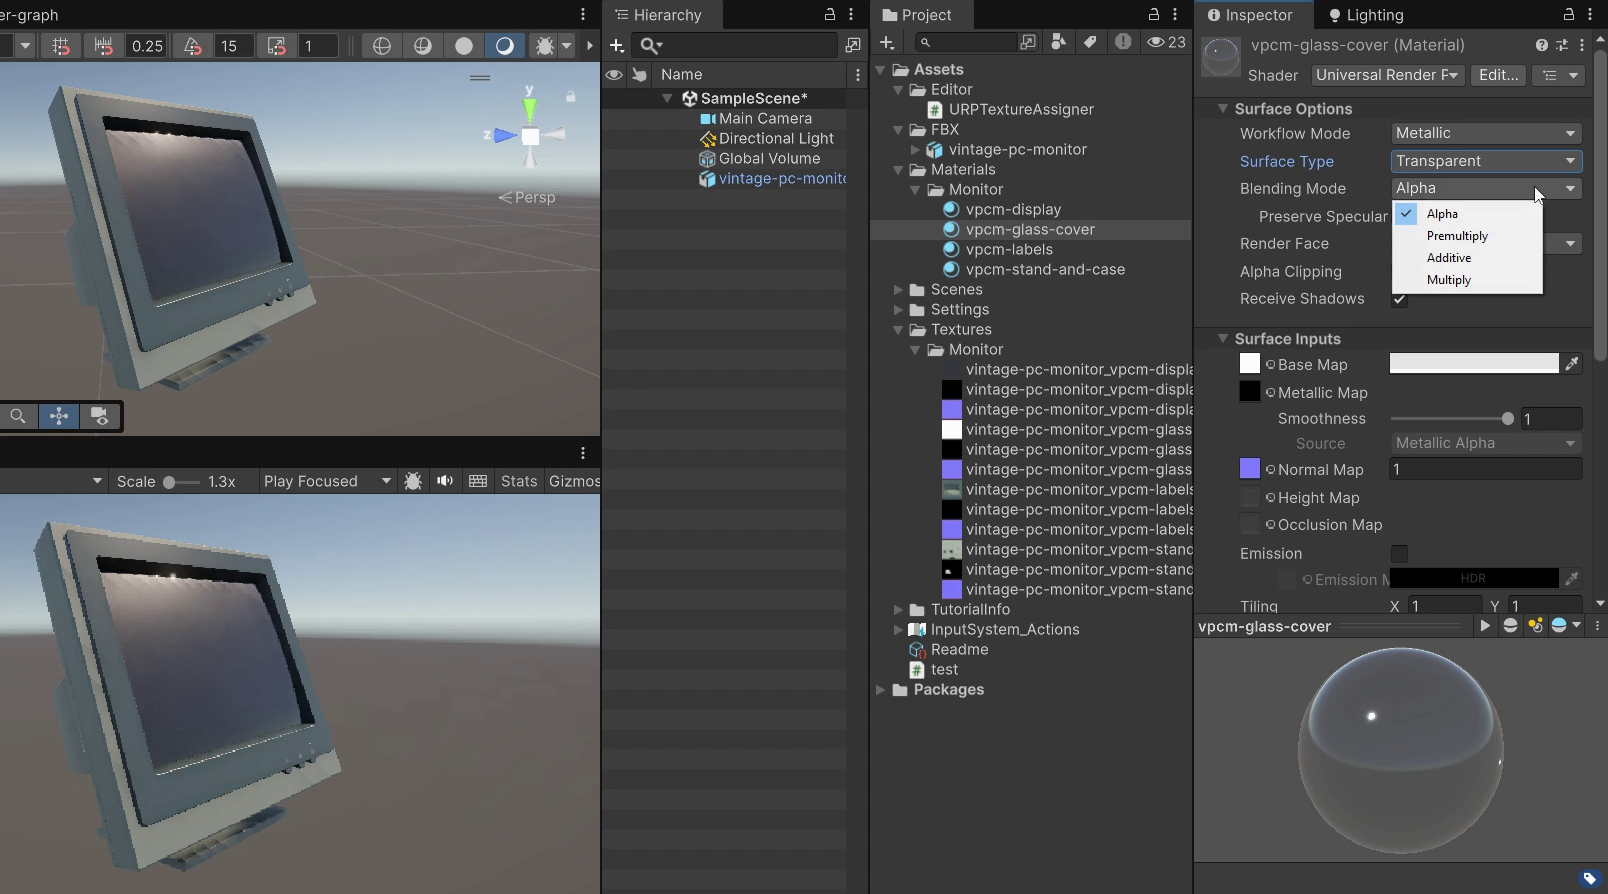
However, keep in mind that the script cannot identify transparent or semi-transparent Materials, such as the monitor glass in my model. For this reason, you will need to select these Materials manually and change their Surface Type from Opaque to Transparent. You may also need to adjust other settings commonly used for transparent Materials, such as Blending Mode and other related parameters.
And that's all for this tutorial! As with many of my other videos, you can find a written version of this tutorial and additional resources on my website, also available in other languages. You can find the link in the video description. If you found this tutorial useful, you can support my work by leaving a Like and subscribing to the channel! See you soon!